Applies To : Microsoft Office 365
ADFS and AD Sync Tool.
Objective / Scenario :
we want to transfer the custom domain "abc.org" from O365 Tennent "A" to Office 365 Tennent "B".
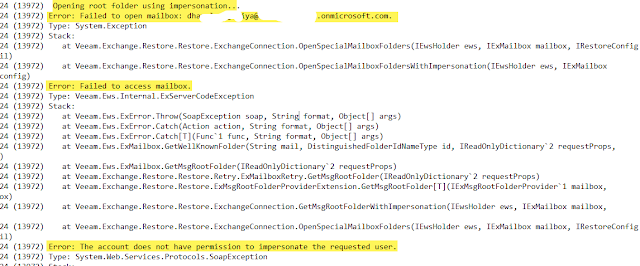
But, "abc.org" is configured with On-Premise Active Directory and ADFS Authorization tool, moreover, we have deleted the ADFS Server prior to disabling it in O365 Tennent, Due to this Users were not able to authenticate with ADFS.
To Authenticate users, the authentication method must change and make the default "onmicrosoft.com" domain to all users to remove the custom domain from Tennent "A".
The below steps demonstrate how to remove ADFS Federated authentication without ADFS accessibility.
Step 1: Open Window PowerShell with "Administrative" rights.
Step 2 : Install MSOnline Module if not installed already " Install-Module MSOnline "
Step 3 : "Connect - MsolService" and Give Username and Password.
Step 4 : "Get-MsolDomain" command to get the Custom domain and Authentication Methods used.

Step 5 : you can see the Custom domain "abc.org" is using "federated" Authentication.
Step 6 : in this step we will disable ADFS "federated" authentication to "managed".
Command : "Set-MsolDomainAuthentication - DomainName abc.com -Authentication Managed"
Step 7 : now check once again with "Get-MsolDomain" custom domain now converted with "Managed"

Step 8: Still you will not able to do modification in users' primary e-mail due to AD Sync, needs to disable AD Sync with O365.
Step 9 : "Set-MsolDirSyncEnabled -EnableDirSync $false" and Confirm "Y"

Step 10 : Wait for 15 to 30 min to reflect changes.
Step 11 : Now you can change All users' Primary E-mail IDs from Custom Domain to Default Onmicrosoft.com domain.
Step 12 : After successfully changing of primary E-mail id then remove Custom Domain and add it to the new Tennent.